How to Dismantle Wardrobes Safely Before Moving
Learn how to dismantle wardrobes safely before a move, protect doors and fittings, and decide when insured furniture assembly support is a safer choice.
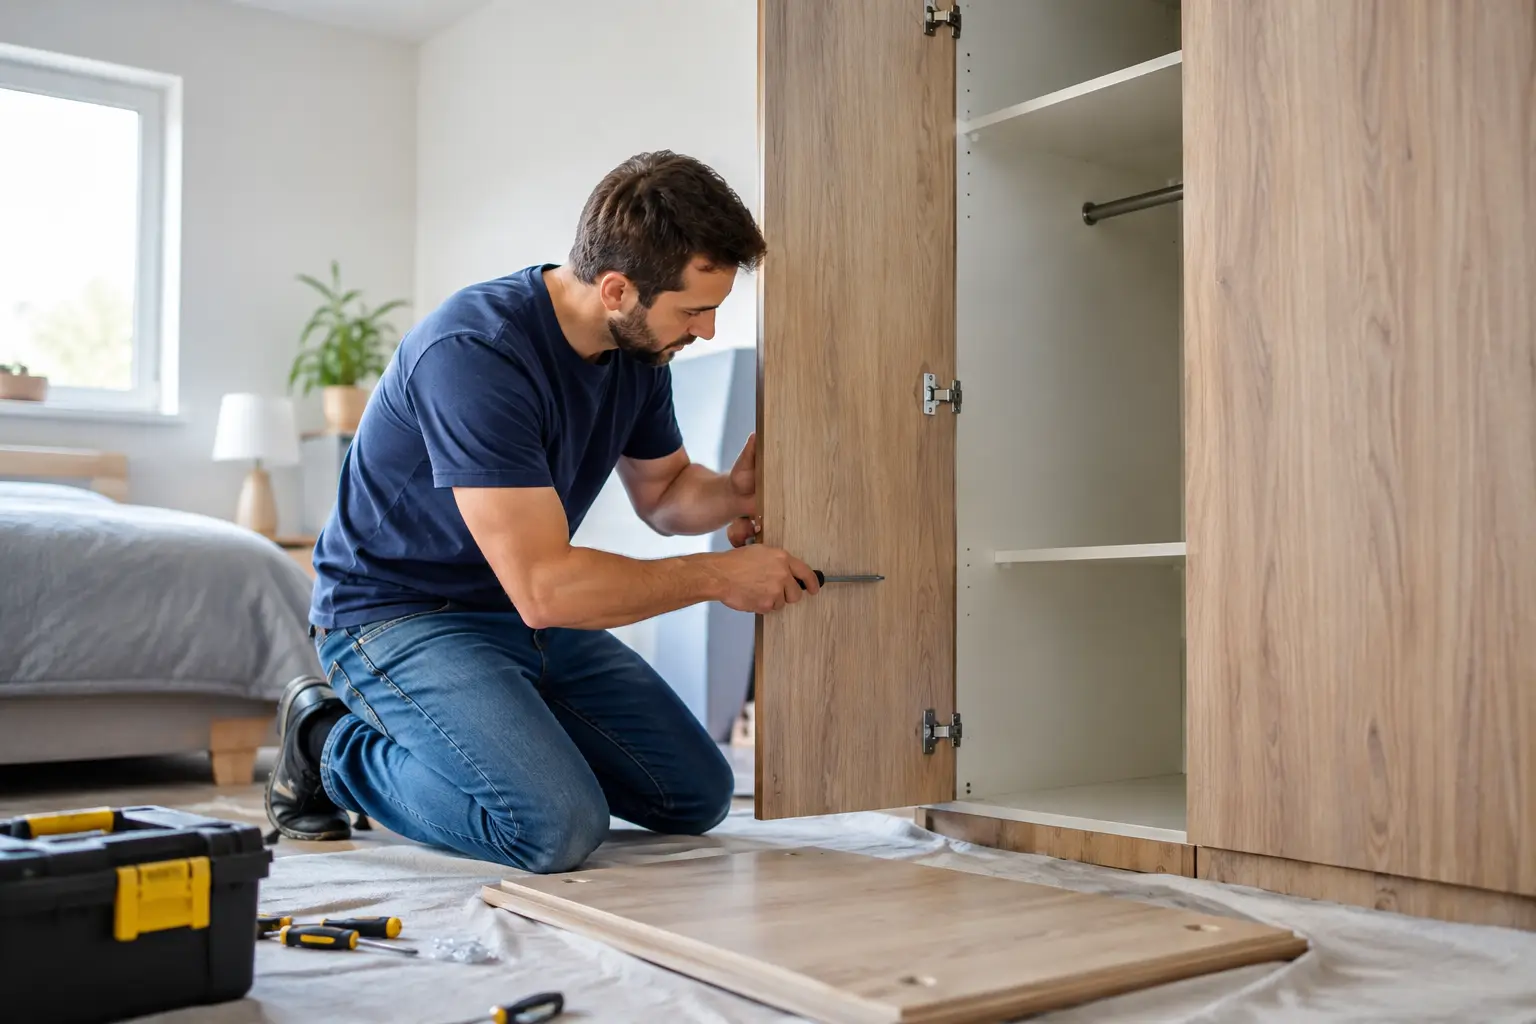
A wardrobe can look manageable until a heavy door swings loose, a mirror panel cracks or a bag of fittings disappears halfway through the move. Knowing how to dismantle wardrobes safely protects the furniture, your property and the people lifting it. It also makes carrying the unit downstairs, through narrow halls or into a removal lorry far more straightforward.
The right approach depends on the wardrobe. A flat-pack unit with cam locks is usually designed to come apart. A solid timber wardrobe, a glued antique piece or a fitted unit may be safer to move whole, or to leave to an experienced furniture assembly team. Do not dismantle simply because it looks large. First check whether taking it apart will genuinely make the move safer.
Check whether the wardrobe should come apart
Start by measuring the wardrobe, the route out of the room, doorways, stair turns and the vehicle access. Remove drawers and doors first where possible, then reassess. Some wardrobes that will not clear a bedroom doorway fully assembled can be moved safely once their doors, shelves and drawers are removed.
Freestanding flat-pack wardrobes commonly have removable backs, panels and shelves. Look for visible bolts, cam locks, dowels and brackets. If the construction relies heavily on glue, nails or old, brittle chipboard, dismantling can cause more damage than it prevents. Veneered, antique and mirrored wardrobes need particular care, as their surfaces and joints can be difficult to repair.
Built-in wardrobes are different. They may be fixed to the wall, floor or ceiling and can conceal wiring, pipes or uneven supporting timbers. Unless you understand how the unit was installed, treat it as a carpentry job rather than ordinary furniture dismantling.
Tools to prepare before you start
Do not begin with a drawer full of random tools. Use the right driver size and keep parts organised from the first screw. For most wardrobes, prepare:
- A screwdriver set or drill driver with adjustable torque
- Allen keys, including the one supplied with the wardrobe if you still have it
- A small socket set or spanner for bolts
- Painter's tape, marker pen and sealable bags for fittings
- Furniture blankets, cardboard or bubble wrap for panels and mirrors
- Work gloves and a second person for doors, tall side panels and lifting
A cordless drill can save time, but use a low setting. High torque can strip chipboard fixings or spin cam locks beyond their working position. If a screw will not move, stop and inspect it rather than forcing it.
How to dismantle wardrobes safely, step by step
Empty, clean and photograph the inside
Take everything out, including clothes, shelf liners, boxes and loose accessories. Drawers should be emptied even if they seem light. A drawer can slide open while being carried and throw the wardrobe off balance.
Vacuum dust from tracks and corners, then take clear photographs of the inside, back and each fixing point. These photos are useful when rebuilding the wardrobe in a new home, especially if the instruction manual has long gone. Photograph cable routes too if the unit includes lights.
Create a clear working area
Move the wardrobe away from the wall if it is safe to do so. You need room on both sides and enough floor space to lay panels flat. Protect the floor with blankets or flattened cardboard, particularly on timber floors and in rented properties where scratches can become an avoidable cost.
Keep children and pets out of the room while the unit is unstable. Never lean a tall wardrobe panel against a wall without securing it. It can slide or topple with very little warning.
Remove drawers, shelves and internal fittings
Take out drawers first. Most lift free once fully extended, though some have catches or release tabs. Remove adjustable shelves, hanging rails, shoe racks and any internal brackets next. Label parts in a way that makes sense later, such as “left upper shelf” or “rail brackets”.
Put matching screws, bolts and shelf supports in separate labelled bags. Tape each bag to the relevant panel where practical, but not to polished or delicate finishes. One mixed bag of fittings is a common reason wardrobe reassembly takes twice as long.
Take off the doors before loosening the frame
Wardrobe doors are often the heaviest moving parts. Open each door fully and have one person support its weight while the other removes the hinge screws. For sliding doors, follow the track system instructions where available. Many lift up and out, but forcing them sideways can bend rollers or damage the track.
Wrap each door separately. Mirrors and glass panels should be covered with cardboard, then wrapped and kept upright for transport. Mark glass clearly and avoid placing heavy boxes against it. Do not rely on tape alone to hold a cracked mirror together.
Remove the back panel carefully
Many flat-pack wardrobes have a thin hardboard back secured with small nails, staples or screws. This panel often keeps the frame square, so remove it only after the unit is empty and supported. Use a tack lifter or flat screwdriver gently, working around the edge rather than pulling one corner hard.
If the back is stapled and starts tearing, pause. A replacement back panel is possible, but a torn one can make the wardrobe less stable when rebuilt. Keep the back flat during transport to prevent it bowing.
Dismantle the main carcass in a controlled order
With doors, drawers, shelves and back removed, take the main structure apart one panel at a time. Usually, that means loosening the top, then separating side panels from the base. Keep one person holding tall panels as the final connectors come free.
Avoid twisting a panel to release dowels. Pull it straight and evenly. If it is stuck, check for missed cam locks, hidden screws or brackets beneath the base. Forcing the joint is how chipboard edges split and dowels snap inside their holes.
Place each panel flat with protective material between surfaces. Keep long side panels together, and keep the top and base clearly labelled. This simple organisation prevents confusion when the wardrobe needs rebuilding after a long moving day.
Loading and moving wardrobe parts
Dismantled does not automatically mean easy to carry. Large panels can be awkward, sharp-edged and flexible. Carry them vertically where space allows, with two people sharing the weight. Keep fingers away from the lower edge when setting panels down.
In the vehicle, protect panels with removal blankets and secure them so they cannot slide. Heavy items should not rest on thin backs, doors or laminated side panels. Hinges, runners and fittings should travel in sealed bags inside a labelled box, not loose in a van or lorry.
If you are moving between flats or dealing with tight staircases in places such as Reading, Slough or Maidenhead, measure before loading. It is much easier to adjust the dismantling plan upstairs than to discover a large panel will not turn on the landing.
When to leave wardrobe dismantling to professionals
There is a sensible limit to DIY dismantling. Ask for help when the wardrobe is exceptionally large, mirrored, antique, wall-fixed, damaged or located where safe lifting is difficult. The same applies if you have a short-notice move and no time to photograph, label and wrap every component properly.
Professional furniture assembly support can include dismantling, protective wrapping, transport and reassembly at the destination. This reduces the risk of missing fittings, incorrect assembly and damage during loading. HomeGo Removals & Packing Ltd can provide this practical support as part of a wider move, with fixed-price quotes and fully insured handling.
The safest wardrobe move is not always the one with the fewest pieces. It is the one where every part is supported, protected and labelled, and where you stop before a difficult job turns into damaged furniture or an injury.
Get a free fixed written quote in 2 mins
Insurance up to £50,000 included · No cancellation fees · Free dismantling & reassembly
AI-assisted article — Drafted by HomeGo's AI content system and reviewed by our editorial team. Source-linked facts, real local knowledge from .

AI-assisted article reviewed by HomeGo's editorial team.
Reviewed & fact-checked by Allah Nazar Ihsan — Founder & Managing Director, HomeGo Removals & Packing Ltd
Planning your move?
Get a free, no-obligation written quote from Berkshire's trusted independent removers. We're answering the phone right now — 24 hours a day, 7 days a week.